The  Sheet Body from Edges modeling capability allows users to create new geometry based on a series of edges.
Create a Sheet Body from Edges by following these steps:
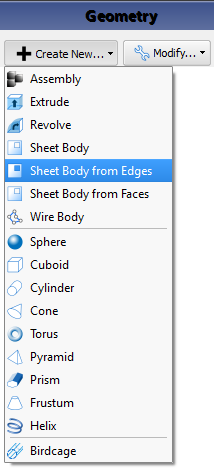
- Click Create New at the top of the Geometry window.
- Select Sheet Body from Edges from the menu.
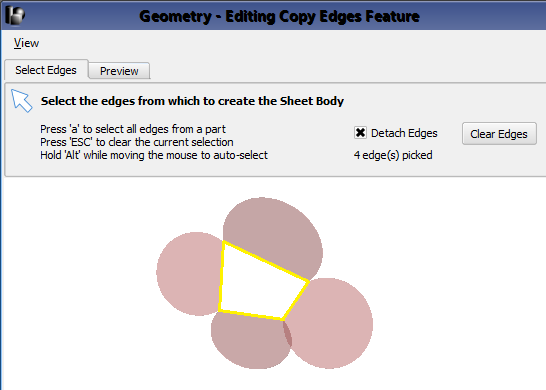
- While working under the Select Edges tab, click on the edges to use for creating a Sheet Body.
Users should note that selected edges must form a complete circuit without intersections or branches in order to successfully create a sheet body.
- Label the new Sheet Body by typing in the Name.
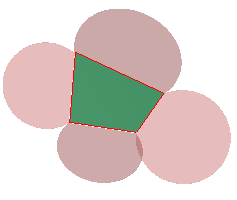
- Click the Preview tab and ensure the part was created as expected.
- Click Done to save the Sheet Body and close the Create Sheet Body from Edges editor.

- Ctrl+: selects multiple edges individually.
- a: highlights all edges of the part while the Select arrow hovers over that part, and selects all the edges by clicking the part.
- Esc: clears selected edges.
- Alt: automatically selects the edges that the Select arrow is hovering over while holding the button down.

When the detach edges option is checked, the new sheet body will be detached from the original set of edges. This default behavior causes each sheet body to be independent of and unaffected by another part. For example, the original set of edges may change location without changing the location of the new sheet body.


