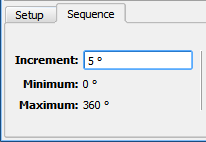
The Sequence tab allows users to setup a sequence and play through the animated results, and is available for any specific absorption rate (SAR), solid, or surface sensor that displays field results in the geometry window. For example, the image shows the sequence controls for a time-domain sensor with frames at specific, discrete points in time. The tab's input data consists of Increment, Minimum, and Maximum settings that limit the range of the sequence. The availability of these settings is determined by the result's data type.
For discrete data, The Minimum and Maximum values determine the sequence's beginning and ending frames, respectively.

XF also supports continuous data with an Increment value that cycles through the phase associated with the steady-state data from 0 to 360 degrees, as shown in the Minimum and Maximum display below the editable field.
Regardless of the data type, the Showing field displays the current frame's number, and its arrow buttons and slide bar scroll through the sequence to change its current frame selection. This value is within the minimum and maximum input range, and the Increment field controls the degrees by which it is increased or decreased using its up and down arrows, when applicable.
Move through a sequence using the following buttons:
- The
 and
and  buttons play the sequence forward and backward, respectively.
 - The
 button pauses a playing sequence.
 - The
 and
and  buttons fast-forward and rewind the sequence, respectively.
 - The
 and
and  buttons jump to the end or beginning of the sequence, respectively.
 Checking the Compute Bounds option prompts XF to compute the bounds of the scale bar before playing the sequence. When this option is de-selected, users can choose when to perform this computation by manually clicking the
 The ![]() button opens the Export Movie window with options for creating a movie using the currently defined sequence. Pressing the
button opens the Export Movie window with options for creating a movie using the currently defined sequence. Pressing the ![]() button cancels movie creation that is already underway. Users can find additional information about creating a movie in the following section.
button cancels movie creation that is already underway. Users can find additional information about creating a movie in the following section.
The ![]() button provides two additional settings. When checked, the Auto-Repeat Sequence option replays the sequence continuously. The Step size field displays the number of frames skipped while playing the current sequence. For example, a value of one shows every index and a value of two shows every other index.
button provides two additional settings. When checked, the Auto-Repeat Sequence option replays the sequence continuously. The Step size field displays the number of frames skipped while playing the current sequence. For example, a value of one shows every index and a value of two shows every other index.
Export a Movie
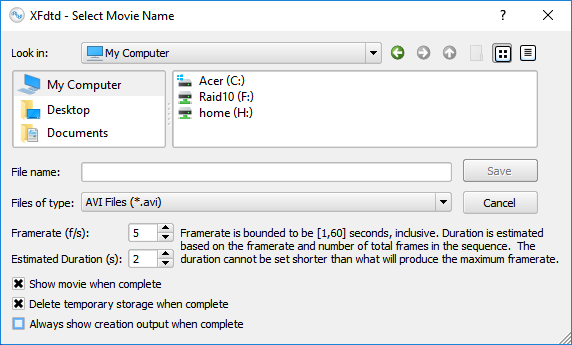
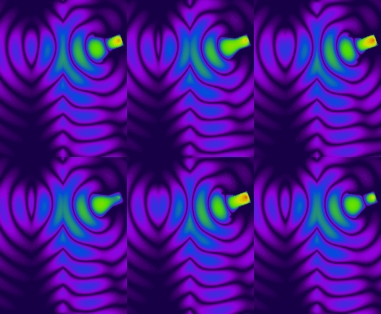
In order to create a movie, XF first stores a screenshot of each frame (based on the Minimum, Maximum, and Step size) in a temporary file. It then combines the frames into the final animation based on the user-defined framerate and duration values entered in the export window. This process is more sophisticated than taking a standard screenshot and it enables users to create movies through a remote desktop, when the XF program is minimized, or when XF is covered by another application.
 Clicking the
 The window also includes the following settings:
- Framerate (f/s): amount of time each frame is shown before the next frame appears.
- Estimated Duration (s): approximate length of the movie based on the framerate and number of frames in the sequence.
- Show movie when complete: opens and plays the final animation.
- Delete temporary storage when complete: deletes the temporary files containing screenshots of each frame. This option is checked by default.
- Always show creation output when complete: displays information logged during the process of movie creation. Unless checked, a dialog appears only if there is an error.
